As the days get shorter, your kitchen becomes the stage for early breakfasts, cozy dinners, and late-night snack runs. Good lighting keeps that stage bright, safe, and mood-friendly. The secret is not a single bigger bulb. It is a layered plan that blends practical visibility with warmth and style, so the room feels alive at any hour. In this guide, you will learn how to build those layers, choose bulbs and fixtures that flatter your finishes, and make small upgrades that pay off every evening. For style inspiration and finishing touches, explore glamour designs to add a touch of refinement and charm.
Why Layers Beat One Big Light
A layered approach delivers what a lone ceiling fixture cannot. It softens the space, cuts shadows where you work, and highlights the features you love, all while giving you control over mood and brightness.
The best part is how adaptable a layered plan can be. You can brighten counters for chopping, dial things down for a quiet dinner, then add a bit of sparkle above an island when guests are over. Thoughtful placement matters as much as the fixtures themselves, and you can phase upgrades over time without tearing the room apart near the end of a long project. For more remodeling insight, visit the http://www.tenkeyremodels.com/ website.
Ambient Lighting That Sets the Scene
Ambient light is your baseline. It fills the room so movement feels easy and the space looks even and welcoming. Recessed cans, a flush mount, or a low-profile linear fixture can all do the job. The key is coverage. Aim to space recessed lights so their cones overlap slightly, which reduces scallops on walls and avoids the cave effect in corners. If your ceiling is high, consider slightly higher lumen output so the room does not feel dim once the light disperses.
Ceiling color and sheen influence how ambient light reads. A matte ceiling absorbs more light, while eggshell returns a touch of glow that can help the room feel brighter without raising output. Keep finishes consistent to avoid hot spots.
Task Lighting That Makes Work Effortless
Task lighting targets the places where precision matters. The most effective upgrade for many kitchens is under-cabinet lighting. Installed near the front of the cabinet, it throws light forward onto the counter, which eliminates the shadows your body would otherwise cast from ceiling lights. Continuous LED tape in a diffuser channel looks modern and gives an even wash. Puck lights offer a slightly more decorative pool of light and can be a smart choice under cabinets that are not perfectly straight.
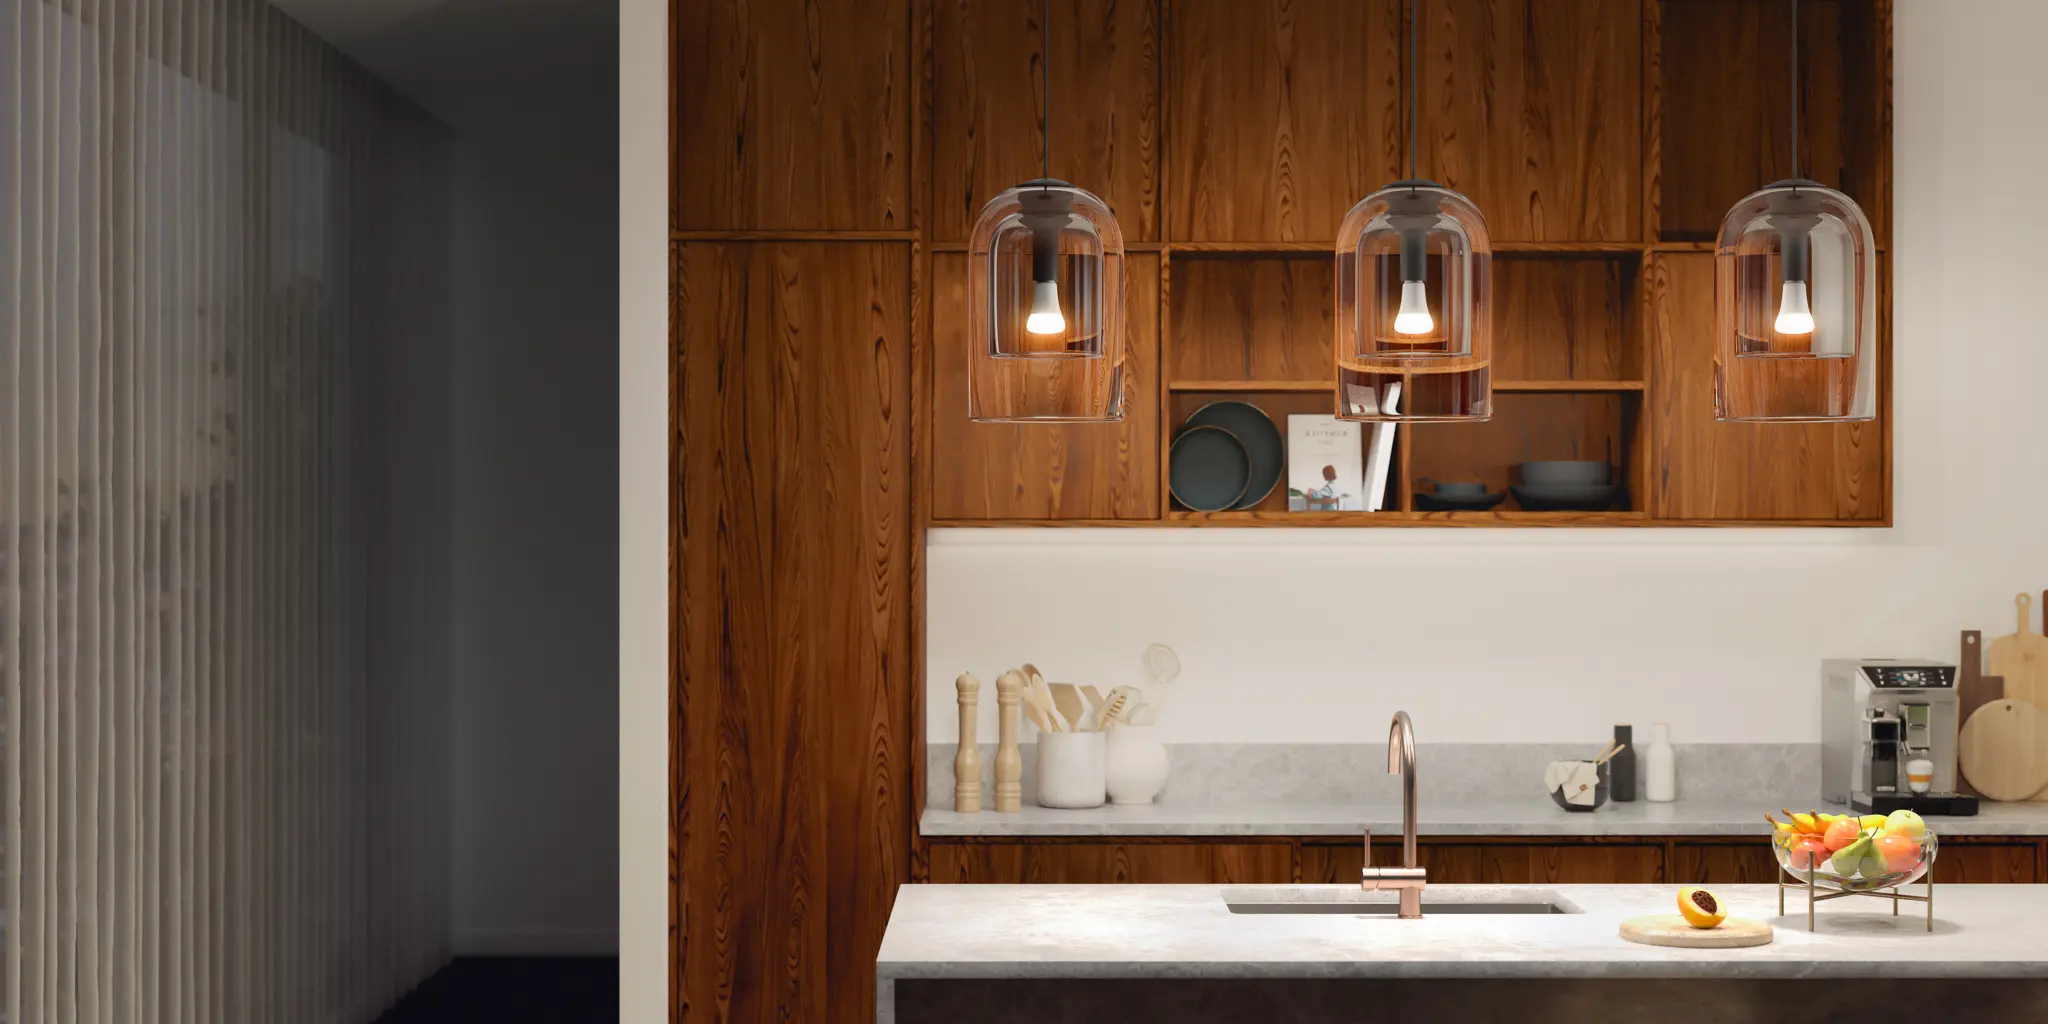
If you cook on an island, consider a pair or trio of pendants that focus light downward onto the work surface. Keep scale in mind. Oversized shades can be beautiful, but they should not block sight lines or create glare. Low-profile linear pendants can span longer islands with a cleaner look. Over the cooktop, a range hood with integrated LED task lights pulls double duty by improving ventilation and visibility at the same time.
Accent Lighting That Adds Character
Accent light is the layer that makes your kitchen memorable. It draws the eye to textures, shapes, and materials that deserve attention. Tape lighting tucked along the toe kick creates a floating effect under lower cabinets and gives you a safe night path through the kitchen. Small directional lights in a soffit or on a track can graze a stone backsplash to reveal depth and sparkle. If your kitchen opens to a dining nook, a dimmable chandelier or sculptural pendant can bridge the two spaces with a shared glow.
Accent lighting also helps zone an open layout. When the prep area is bright and the breakfast bar is slightly dimmed, each activity gets its own feeling without building a wall.
Plan Your Layout With Real Life In Mind
Before you buy fixtures, map how you use the room from morning to night. Walk the space and imagine making coffee, prepping dinner, unloading the dishwasher, and hosting friends. This exercise reveals exactly where light should land and how many circuits you want for flexible control.
Start With Sight Lines
You want light, not glare. Avoid placing fixtures where you will constantly see bright bulbs from seated positions. Over an island, choose shades or diffusers that conceal the light source when viewed from the living area. Under-cabinet lights should be set back from the face frame so the diodes are not visible at eye level across the room.
Put Controls Where Your Hands Already Go
Wall switches should follow your natural flow into the space. A main switch near the entry controls ambient light. Secondary switches or a multi-button keypad control the task and accent layers. If you add smart dimmers, you can save scenes like Prep, Family Dinner, and Nightlight. That way, you tap a single button to set the room, rather than juggling four dimmers while the pasta boils.
Dim Everything You Can
Dimmers are the difference between bright utility and an inviting evening mood. Dimming also extends bulb life and can reduce energy use when full output is unnecessary. Choose compatible dimmers for your chosen LEDs since not all drivers play nicely with every control. Test one circuit before you commit across the kitchen.
Choose Bulbs and Fixtures That Flatter
Light quality is not just about brightness. The spectrum of the bulb and how faithfully it renders color shape the way your food and finishes look.
Get Color Temperature Right
For kitchens, a range around 2700K to 3000K usually hits the sweet spot. It keeps things warm and welcoming without drifting orange, and it blends nicely with nearby living spaces. If your cabinets or counters lean cool in tone, you can push to 3000K for a crisp look. Keep all layers within the same color temperature family to avoid a patchwork effect that makes white cabinets look mismatched.
Aim for a High CRI
A Color Rendering Index of 90 or above helps whites look clean, wood tones feel rich, and produce look appetizing. CRI is especially important for under-cabinet lighting, since that light directly affects the way your ingredients and tools appear while you work.
Match the Fixture to the Surface
Shiny counters bounce light differently than honed stone. Highly reflective surfaces can throw bright highlights back at the eye, so consider diffused under cabinet options for glossy materials. If you love metallic backsplashes, try a grazing accent light that reveals texture without turning the wall into a mirror. For dark cabinets, slightly higher lumen output keeps the room from swallowing the light.
Make Small Upgrades That Deliver Big Comfort
You do not have to start from scratch to get better kitchen lighting. Swap dim bulbs for brighter, high-CRI LEDs. Add a slim under-cabinet strip where you chop vegetables. Install a motion sensor on the toe-kick lights so late-night water runs feel easy without waking the whole house. Replace a tired flush mount with a more efficient LED fixture that spreads light evenly.
If you are remodeling, run dedicated wiring for each layer and plan for dimmers from day one. Even when budgets compress, the right wiring sets you up for future upgrades without tearing into finished walls.
Bring It All Together
A layered plan gives you a kitchen that works on a busy morning, glows during a family dinner, and guides you gently at midnight. Ambient light sets the stage, task light makes work effortless, and accent light adds personality that belongs to your home. When you balance those layers and add smart control, the room feels reliable and welcoming, no matter how early the sun sets.
Use this season to fine-tune your lighting. Start with the way you live, choose fixtures and bulbs that flatter your finishes, and give yourself flexible control. Your kitchen will feel brighter, safer, and more beautiful right when you need it most.